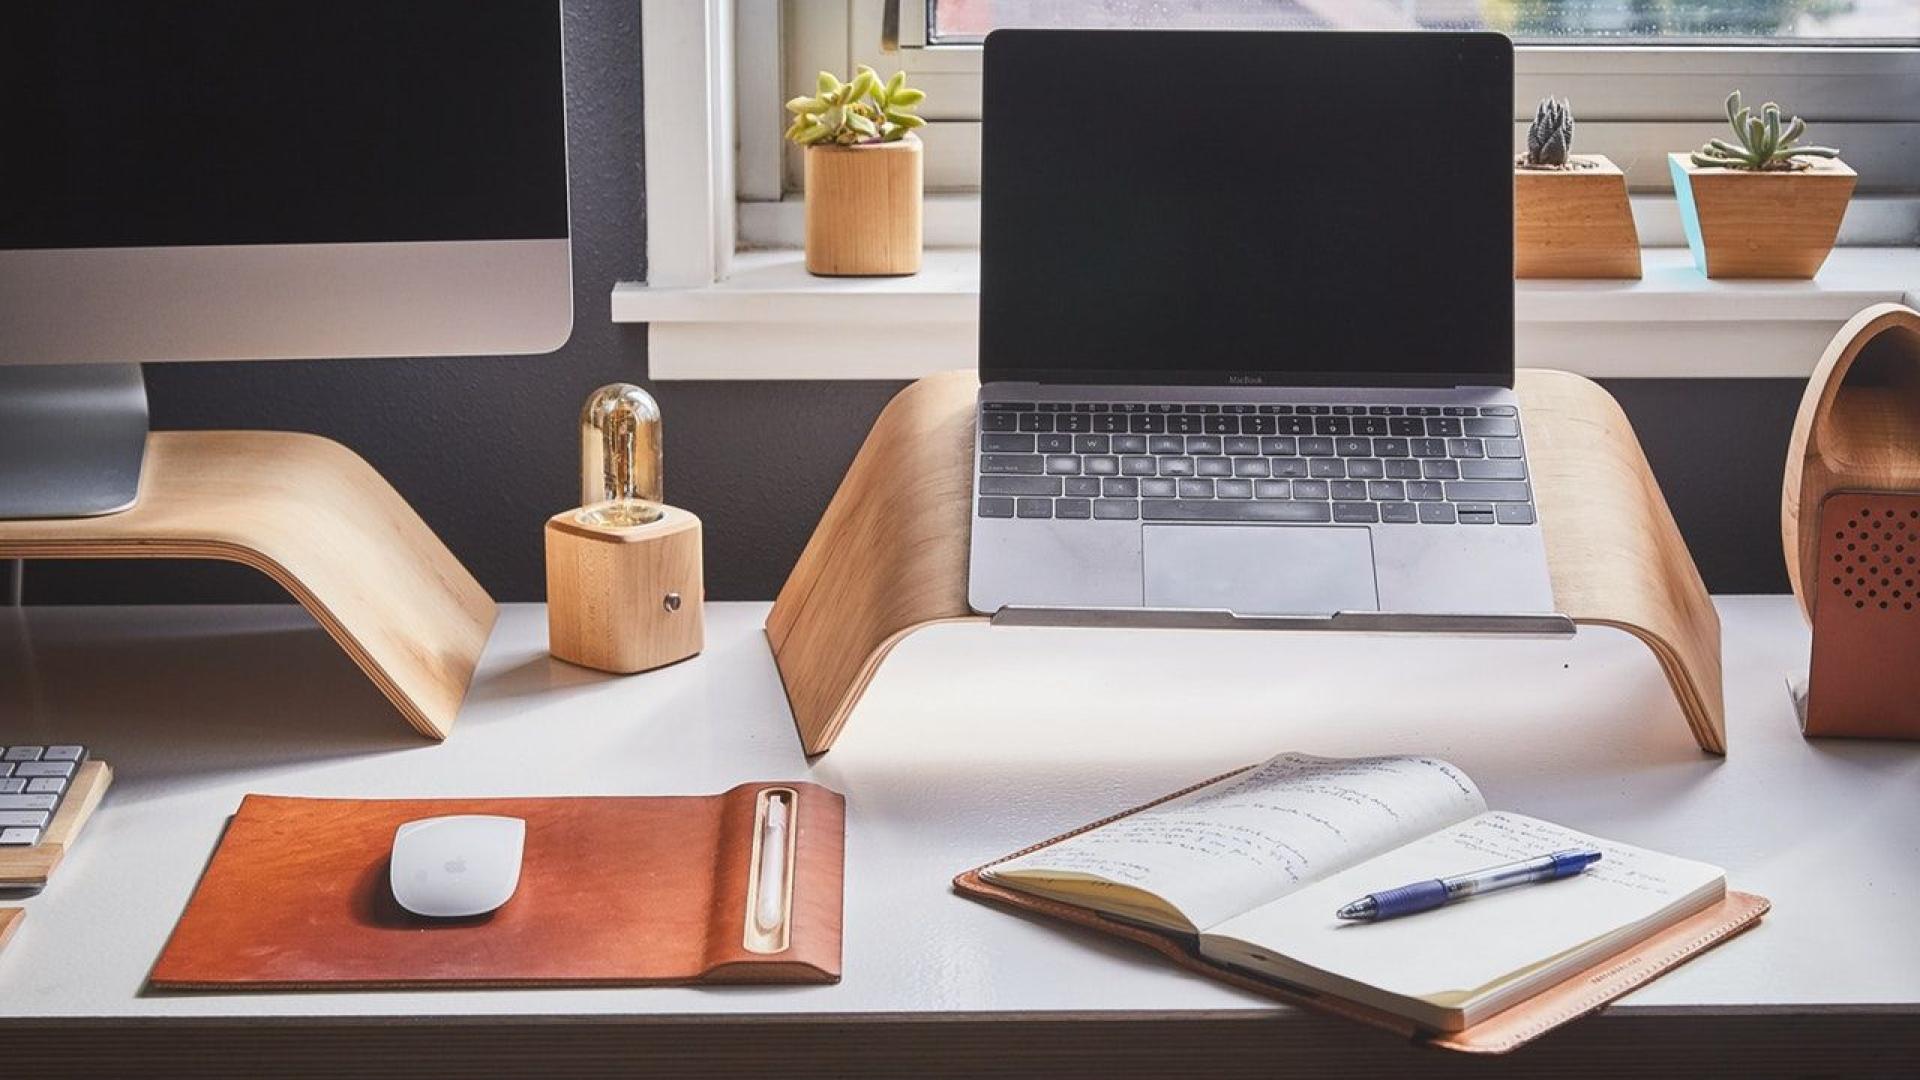
It’s no surprise that sheds are incredibly versatile. They can be used for a wide range of things other than storage, and a home office is no exception. In fact, many people choose to turn their sheds into office spaces to create a quieter work environment with less distractions than their home. Read on for some more information on how to turn a shed into an office space!
Perform Replacements or Repairs
If you’re using an existing shed for your office space, it should be in good condition before you start the project. Be on the lookout for any damage to the shed, like mold, leaks, or rotting wood. These will need to be taken care of before you can begin converting the space into an office.
Next, make sure that the windows, doors, and walls are properly insulated, and replace them if need be. You can also choose to insulate the floor to stop cold and warm air from rising from the ground.
Additionally, since there will most likely be some valuable equipment in your office, make sure there’s a sturdy, secure lock on the door.
Install Electricity
When it comes to turning a shed into an office, installing electricity is a must. After all, you need to power your computer, WiFi, and lights! However, adding electricity to a shed isn’t something you should do own your own, as it’s very dangerous if you don’t know what you’re doing. So, it’s best to hire a professional electrician for this part of your project.
Keep in mind that since your shed is going to be used as a business location, the electrician will need to inspect and sign off on the electricity equipment in your shed. Also, depending on where you live, you may be required to obtain zoning permits for your town, so remember to look into this before you start your project.
Install Drywall and Trim Work
Once your shed is insulated and has electricity, put up some drywall or wallboard to make the space look complete and liveable. After you hang up the drywall, don’t forget to go back and fill in any gaps with spackling paste and sand them down.
Next, you’ll want to add finishing touches like crown molding, baseboards, and window casing. While they may seem insignificant, simple elements like these will give your new space a much more refined look.
Paint the Walls
Now that the hard work is done, it’s time to bring your office shed to life and personalize it! One of the first things you’ll want to do is paint the walls and the trim work.
If you’re struggling to decide on a color, we recommend light shades over darker ones, as brighter colors can maximize the feeling of space in your shed. When in doubt, you can’t go wrong with whitewashed walls! Plus, they match with just about any other color.
Install Flooring
Complete your office space by installing tile, hardwood, or laminate flooring. Alternatively, carpets and throw rugs are a good option for a softer floor. Either way, you’ll want to cover up the wooden shed base to make your office space look completely finished.
Furnish and Decorate
Now, it’s time to start filling up your shed with all of your office essentials. Make sure to use furniture that matches your personal style - create a space that you’ll be comfortable working in on a daily basis! It’s important to lay out your furniture in a way that maximizes space. Working in an office space that’s crammed and full can decrease your productivity!
Next, give your office shed some character by adding flair and decorations. If you’re on a budget, consider visiting your local thrift store and picking up some paintings or knick-knacks for your new space. Wall art, photographs, plants, and window curtains are just a few of the many items you can add to your office to make it your own.
All in all, turning a shed into an office space will be worth your while, and you’ll be thankful for the extra space! If you’re in need of a shed to work with, check out the garden sheds that Shed Solutions has to offer!

